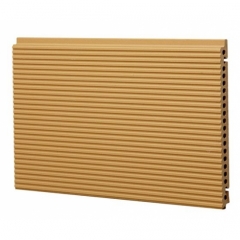
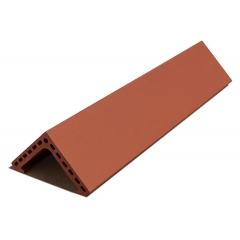
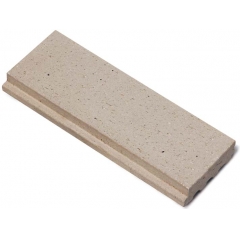
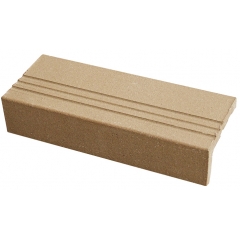
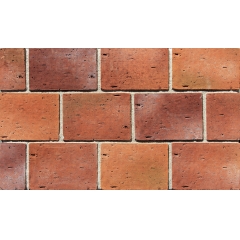
How to Install Clay Brick Tiles?
2017-08-31
1. Prepare Wall for Tile
Clean the wall, and make sure it is smooth and clean without Dust and debris, so as to make it easy to glue to properly bond. Then, Mark lines on the wall, so as to make sure the tiles are all level. The grout spacer is normally 3/8” and 1/2”.
Water the wall, and make sure it is wet enough. After 2~3 hours, you can start the installation.
2. Cutting Tiles
During the period of waiting, you can start cutting tiles. Cut before installation will help you save time, because you do not need to continuously stopping to cut more clay brick tiles.
3. Start the installation at the bottom corner of the wall. Apply mortar on the back of the tiles fully covered.
Then press a full size brick to the outer edge of the lower corner of the wall. Continue upward with a half cut brick. Then full size tile, then half size tile.
4. Install Full Rows
The installation is also from the bottom of the wall. Press tile tiles row by row from the corner tile. And remember to leave grout space between two tiles. Make sure the rows are level. You have about 20 minutes to adjust your tiles before the adhesive begins to set.
5. Apply Grout
Grout apply should wait about 48 hours after the bricks installation. So as to make sure tiles dry enough. Then using Portland cement mixture grout in between joints. Just squeezed through a grout bag and apply to joints in small areas at a time. Be careful no to apply too much grout and avoid grout material stay on the surface of the tiles, which may make your cleaning very difficult to proceed.

6. Clean
After grout material dry enough, usually one or two days. Wash the clay tile wall from up to down.