
The city of Iloilo, located in the Western Visayas region of the Philippines, has experienced rapid development over the past decade. As a historic tr...
MoreIn contemporary hospitality architecture, facade design has evolved far beyond surface treatment. It has become a primary tool for shaping spatial ide...
MoreThe LACADIERE Skyline in Chengdu represents a rare moment in façade engineering: a super-tall residential tower whose exterior envelope combines techn...
More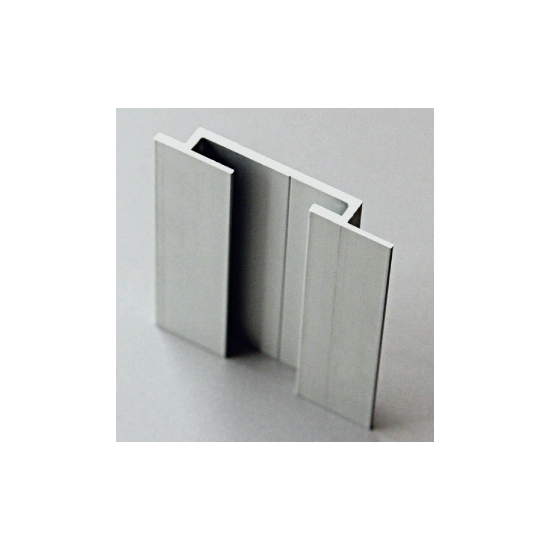
| *Model No.: | Crossbeam |
|---|---|
| *Place Of Origin: | Fujian, China |
| *Material: | Aluminum Alloy |
| *Packaging Details: | Carton with wooden pallet |
| *Payment Terms: | L/C, T/T, Western Union, Paypal |
| *Port: | Xiamen Port |
| *Delivery Time: | In 25 days |
| *Certification: | CE, ISO9001 |
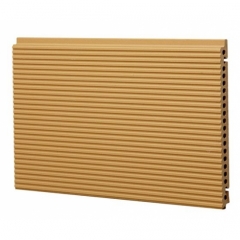
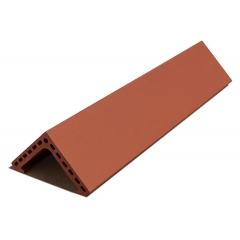
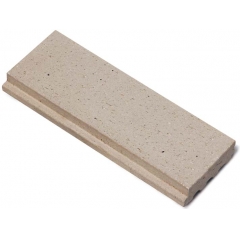
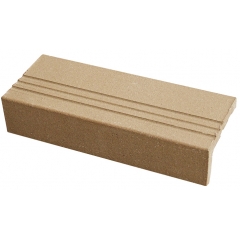
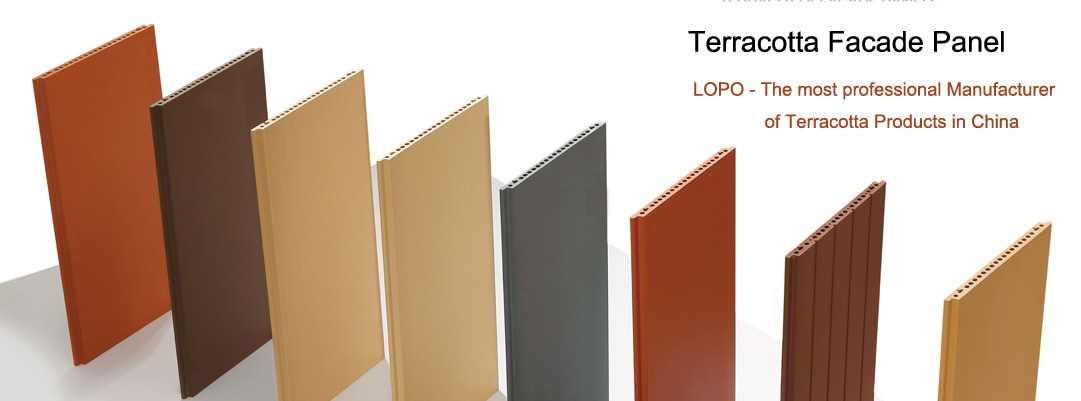
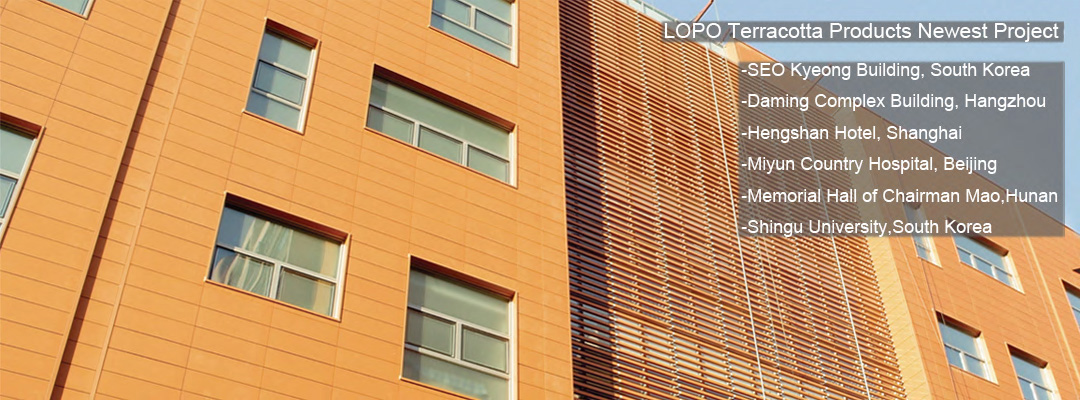
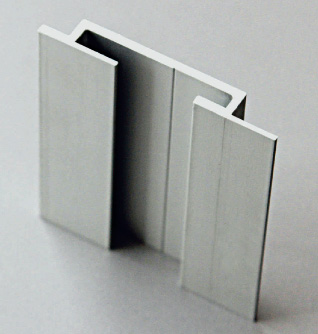
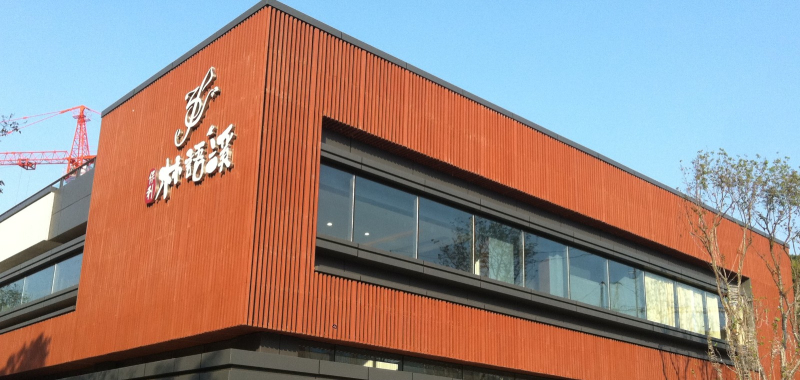
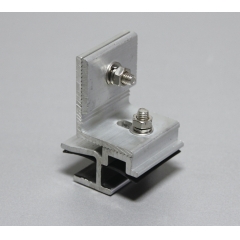
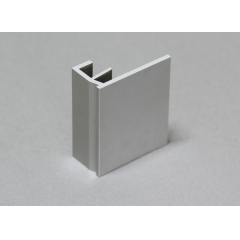
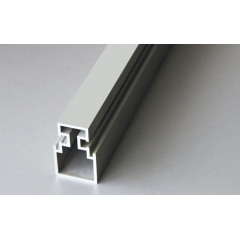
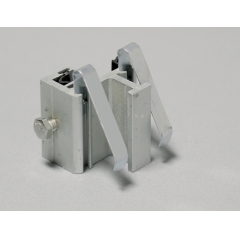
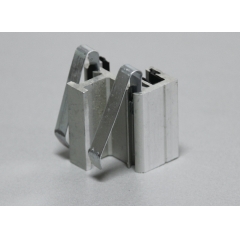
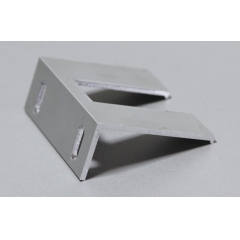
Durable Terracotta Panel Aluminum Back Fixing Components
LOPO is a professional manufacturer of terracotta panels and louvers with back fixing components. Our terracotta panel accessories is made of high quality aluminum materials, it is durable and long lasting.
Aluminium Articulated Parts is suit for 18mm thickness terracotta panel installation, it can make sure every panel can be installed on the wall for long lasting and safety, which is based on the rainscreen principle, is custom designed and engineered. Terracotta panel aluminium accessories supplying by lopo is easy to shape, the accessories is available in different molds, easy access via an extrusion process of aluminum extrusion products of different cross-sectional shapes.
Specification:
1. Material: Aluminum alloy
2. Usage: 18mm terracotta panel installation
3. Customized is welcome
4. High quality, long lasting
Full Set Terracotta Products Accessory:
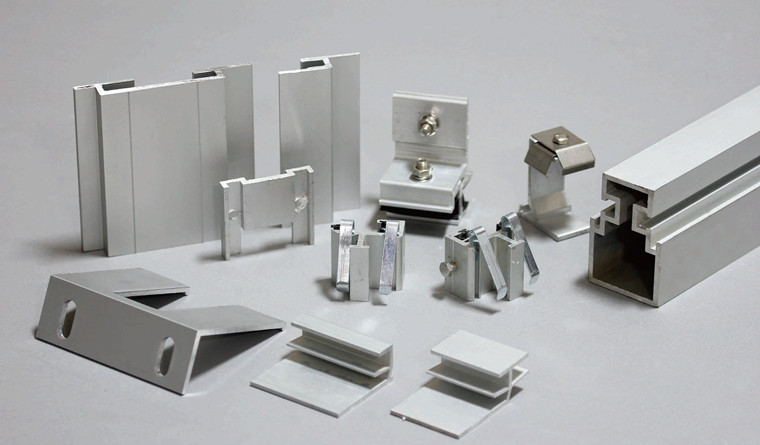
Installation Steps for Terracotta Panel
1. Measurement and line laying
2. Installation of Columns
Secure columns on the main structure with brackets and stainless stell bolts, adjust the verticality of the supporting columns.
3. Installation of brackets or supporting rails
Secure them on the columns with stainless steel bolts or screws, adjust the verticality and horizontality of the columns.
4. Installation of tiles
1) Apply the adhesive tapes on supporting rails or columns as the joint pieces
2) Position tiles and clamps, adjust the verticality and horizontality of the terracotta panels by clamps
3) Mount panels from bottom up to finish the installation
5. Apply sealant
There is no need to apply sealant for open system, while for closed system is necessary to do so in the vertical and horizontal joints of terracotta panels.
6. Clean the installed terracotta panels with water
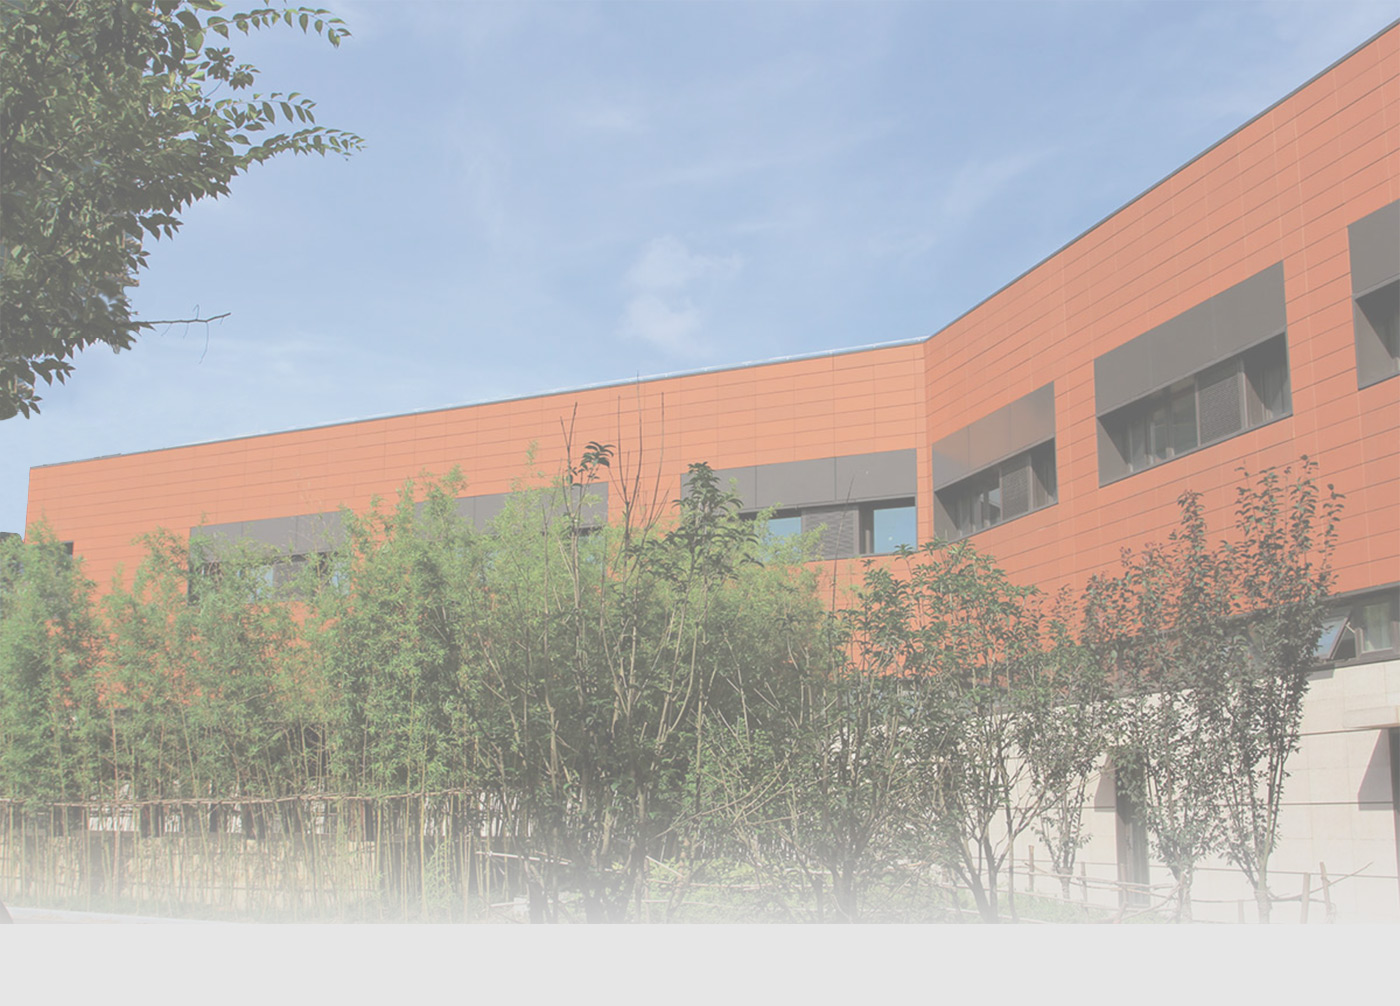
Installation Project:
Previous :
Safty Terracotta Panel Installation CrossbeamNext :
Black EPDM Terracotta Panel Rubber Seal Strips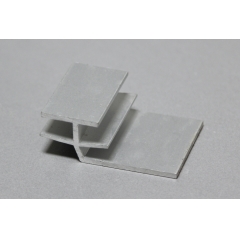 30mm Terracotta Panel Installation Clips
 Aluminum Terracotta Fixing System Tile Clips
 Stable Terracotta Clay Panel Accessories
 Dry Hanging System Terracotta Panel Aluminum Column
 18mm Lightweight Terracotta Panel Clips
 Curtain Wall System Backing Fixing Tile Holder
 18mm Terracotta Panel Support System Accessories
 Terracotta Panel Aluminium Articulated Parts